






Everything You Should Know About Salesforce-LinkedIn Integration
source on Google

Table of Contents
source on Google
Sales representatives working on a LinkedIn lead can send InMails, receive replies, and even connect with prospects, but none of it shows up in Salesforce unless they copy it over manually.
Salesforce-LinkedIn integration fixes that gap, and it comes in two forms: LinkedIn Sales Navigator for Salesforce, and the AgentExchange plug-in, which is the one that brings InMail messages and notes into your CRM automatically. Choosing wrong here means either an unsolved problem or a heavier install than you needed. This blog covers how to integrate Salesforce with LinkedIn, both methods in full, so you know exactly which one your team needs before you start.
Salesforce-LinkedIn integration: What it is and why it matters for your reps


With Salesforce-LinkedIn integration, your reps stop switching tabs to check a profile or a message thread, since that data now lives inside the Lead or Contact record they’re already working on. This integration also opens up LinkedIn’s search capabilities from inside that same workflow, so reps can find better-fit prospects without leaving the CRM to do it.
Apart from this, there are multiple reasons why Salesforce-LinkedIn integration matters. Let’s take a look:
i. Connect and enable syncing between Salesforce and LinkedIn
Integration will help businesses use Salesforce for managing deals and LinkedIn Sales Navigator for prospecting, so data moves between them without manual copying.
ii. Buyer information inside the CRM record itself
Sales reps can see LinkedIn profile insights on lead and contact pages, which helps them target the right buyers and personalize outreach for them.
iii. Capture rep activity automatically
Through Salesforce-LinkedIn integration, reps can log InMail messages and notes into Salesforce automatically so they don’t lose time to manual data entry.
Which method does your team actually need?
The right method depends on what your reps are missing today: visibility or activity logging, not on which one has more features.
Here’s how they compare on setup effort, data validation, and what each one actually solves:
| Salesforce-LinkedIn Integration Methods | Native Integration | AgentExchange Plug-In |
|---|---|---|
| Best for | Teams that just need LinkedIn contacts already working in their system | Teams that want to capture InMail messages and notes automatically |
| Setup effort | Lighter (needs a toggle and page layout changes) | Heavier (including domain registration, AppExchange install, and permission set assignment) |
| Domain configuration needed | No | Yes |
| Includes Data Validation | No | Yes |
| Includes Salesforce Classic support | No | Yes |
| Includes CRM Sync | Optional add-on | Yes, included in package |
| Solves | Provides visibility as reps can see LinkedIn data on records | Captures activities, so reps don’t have to log InMails and notes manually |
Prerequisites for Salesforce-LinkedIn integration
There is a set of requirements that you must ensure in your setup before Salesforce-LinkedIn integration. Here’s a complete overview of the prerequisites for both methods:
a. Requirements for LinkedIn Sales Navigator for Salesforce
- For LinkedIn Sales Navigator for Salesforce, you’ll need a Salesforce org on Enterprise, Professional, or Unlimited Edition.
- In addition, you’ll need a LinkedIn Sales Navigator Team or Enterprise license.
- You must have admin access to Salesforce Setup.
b. Requirements for AgentExchange plug-in
- For the AgentExchange plug-in method as well, you will need admin-level access to your Salesforce org.
- You’ll need a Salesforce org on Professional, Enterprise, Unlimited, Developer, or Performance Edition.
- Since the plug-in is configured outside native Salesforce setup, you will also need access to LinkedIn’s own installation.
Step-by-step Salesforce-LinkedIn integration setup guide
a. How to Set Up LinkedIn Sales Navigator for Salesforce (Native Integration)
LinkedIn Sales Navigator for Salesforce is a native integration method provided by Salesforce. Here’s a clear step-by-step guide for successfully completing this integration:
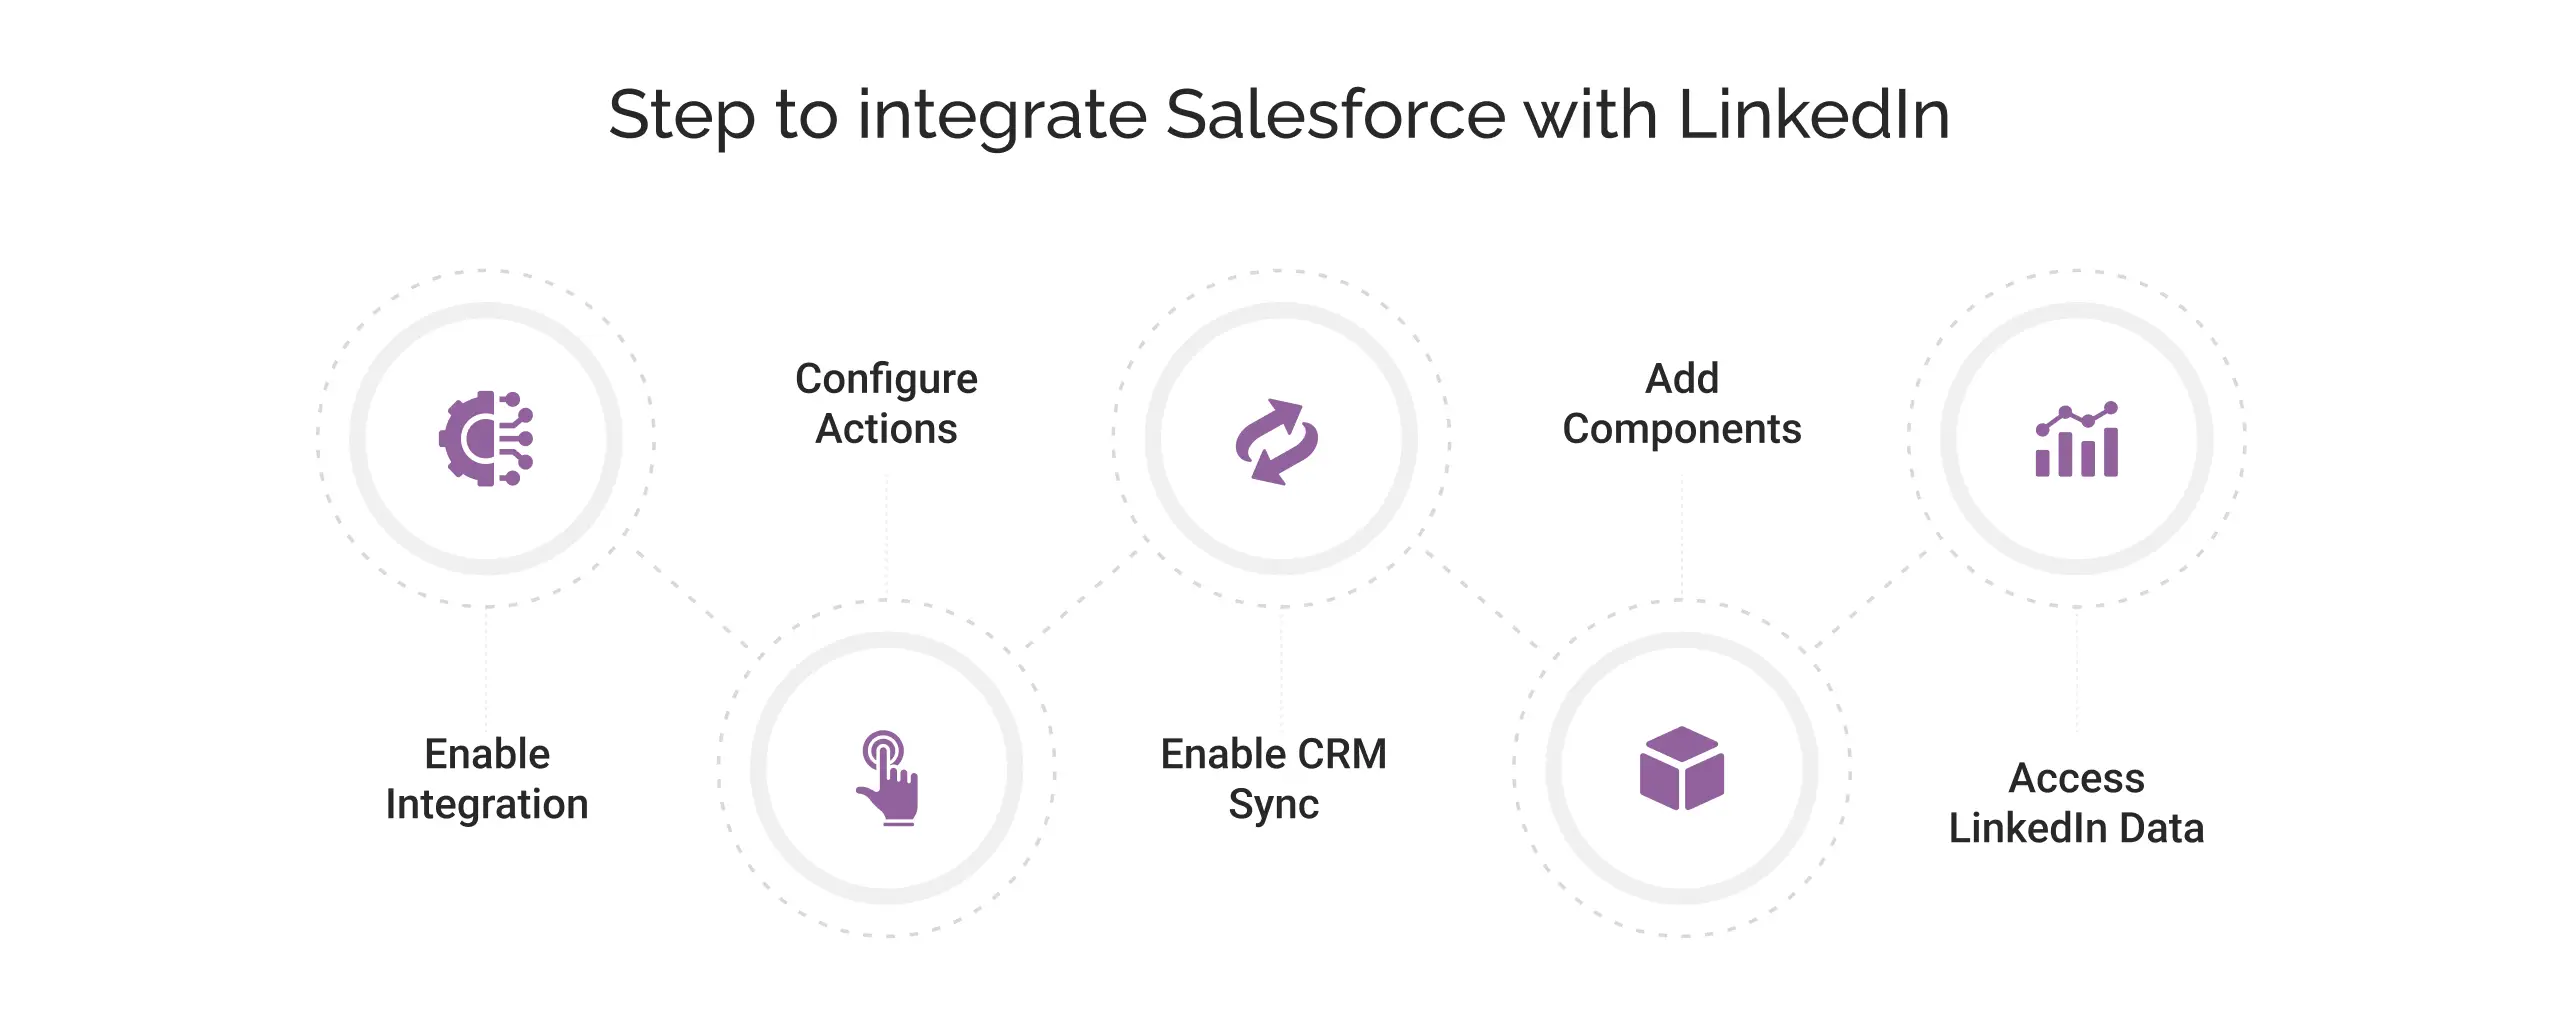
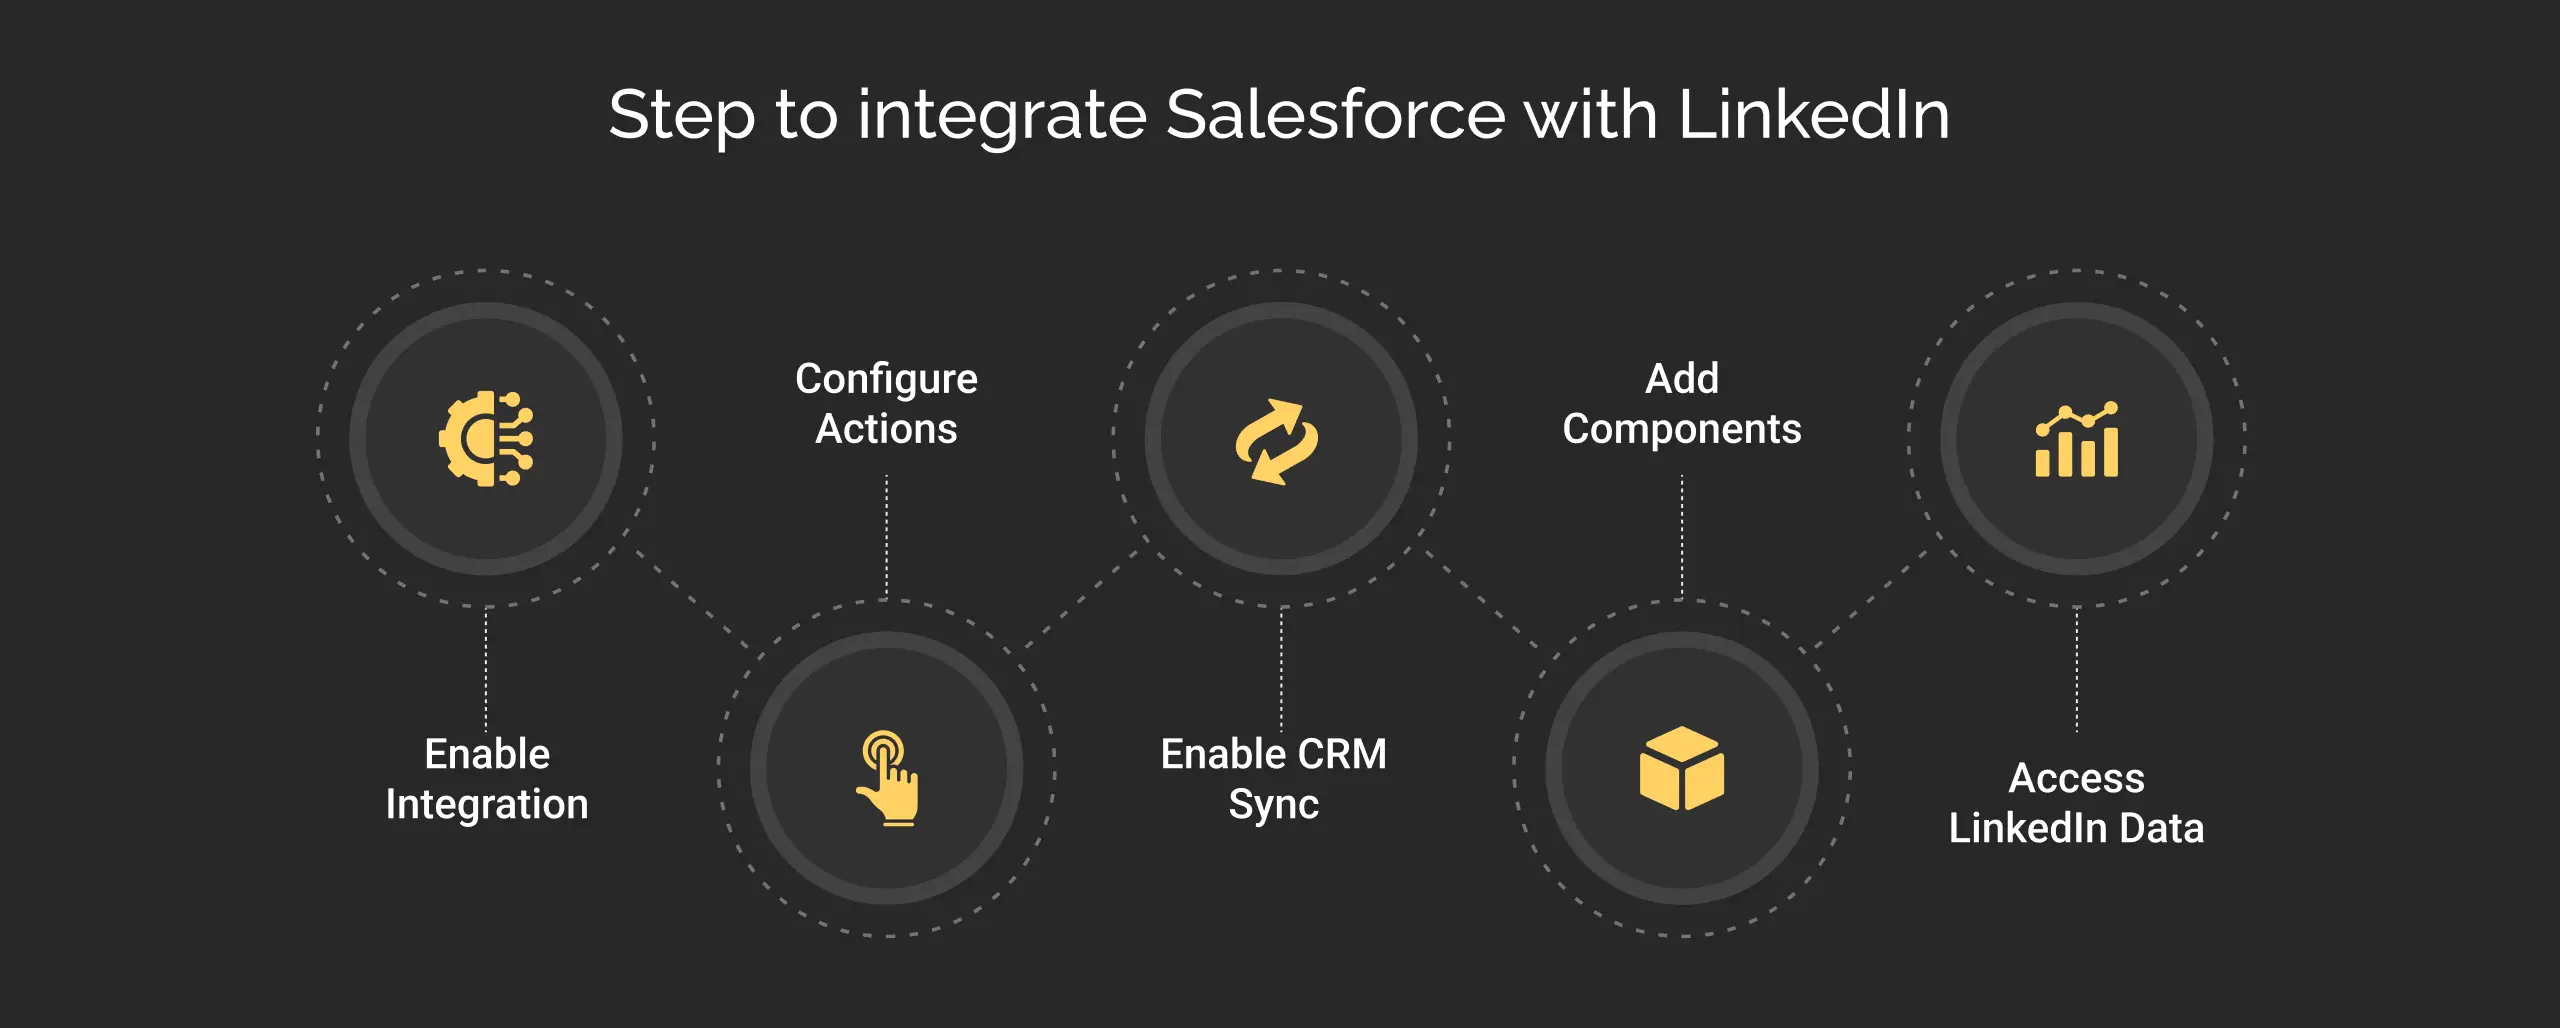
- In Setup, search for ‘LinkedIn Sales Navigator’ and open it.
- Go to the LinkedIn Sales Navigator Integration tab and turn on Sales Navigator Integration.
- After this, the action menu will show request actions like InMail and connection requests automatically. For custom layouts, add these manually.
- If you want lead and contact data to sync automatically, go to LinkedIn Settings and enable ‘CRM Sync’ to sync lead and contact data.
- Next, add the LinkedIn Sales Navigator components to your Lead, Contact, Opportunity, and Account page layouts to see LinkedIn profile data directly on those records.
| Important note: If you’re using customized layouts, make sure to add both the components and the actions manually. |
b. How to Set Up the AgentExchange Plug-In (AppExchange Package)
This method of Salesforce-LinkedIn integration requires more setup as it includes data validation, embedded profiles, and CRM Sync in one package. We have broken down the setup instructions into four distinct sections: domain setup, installation, configuration, and testing.
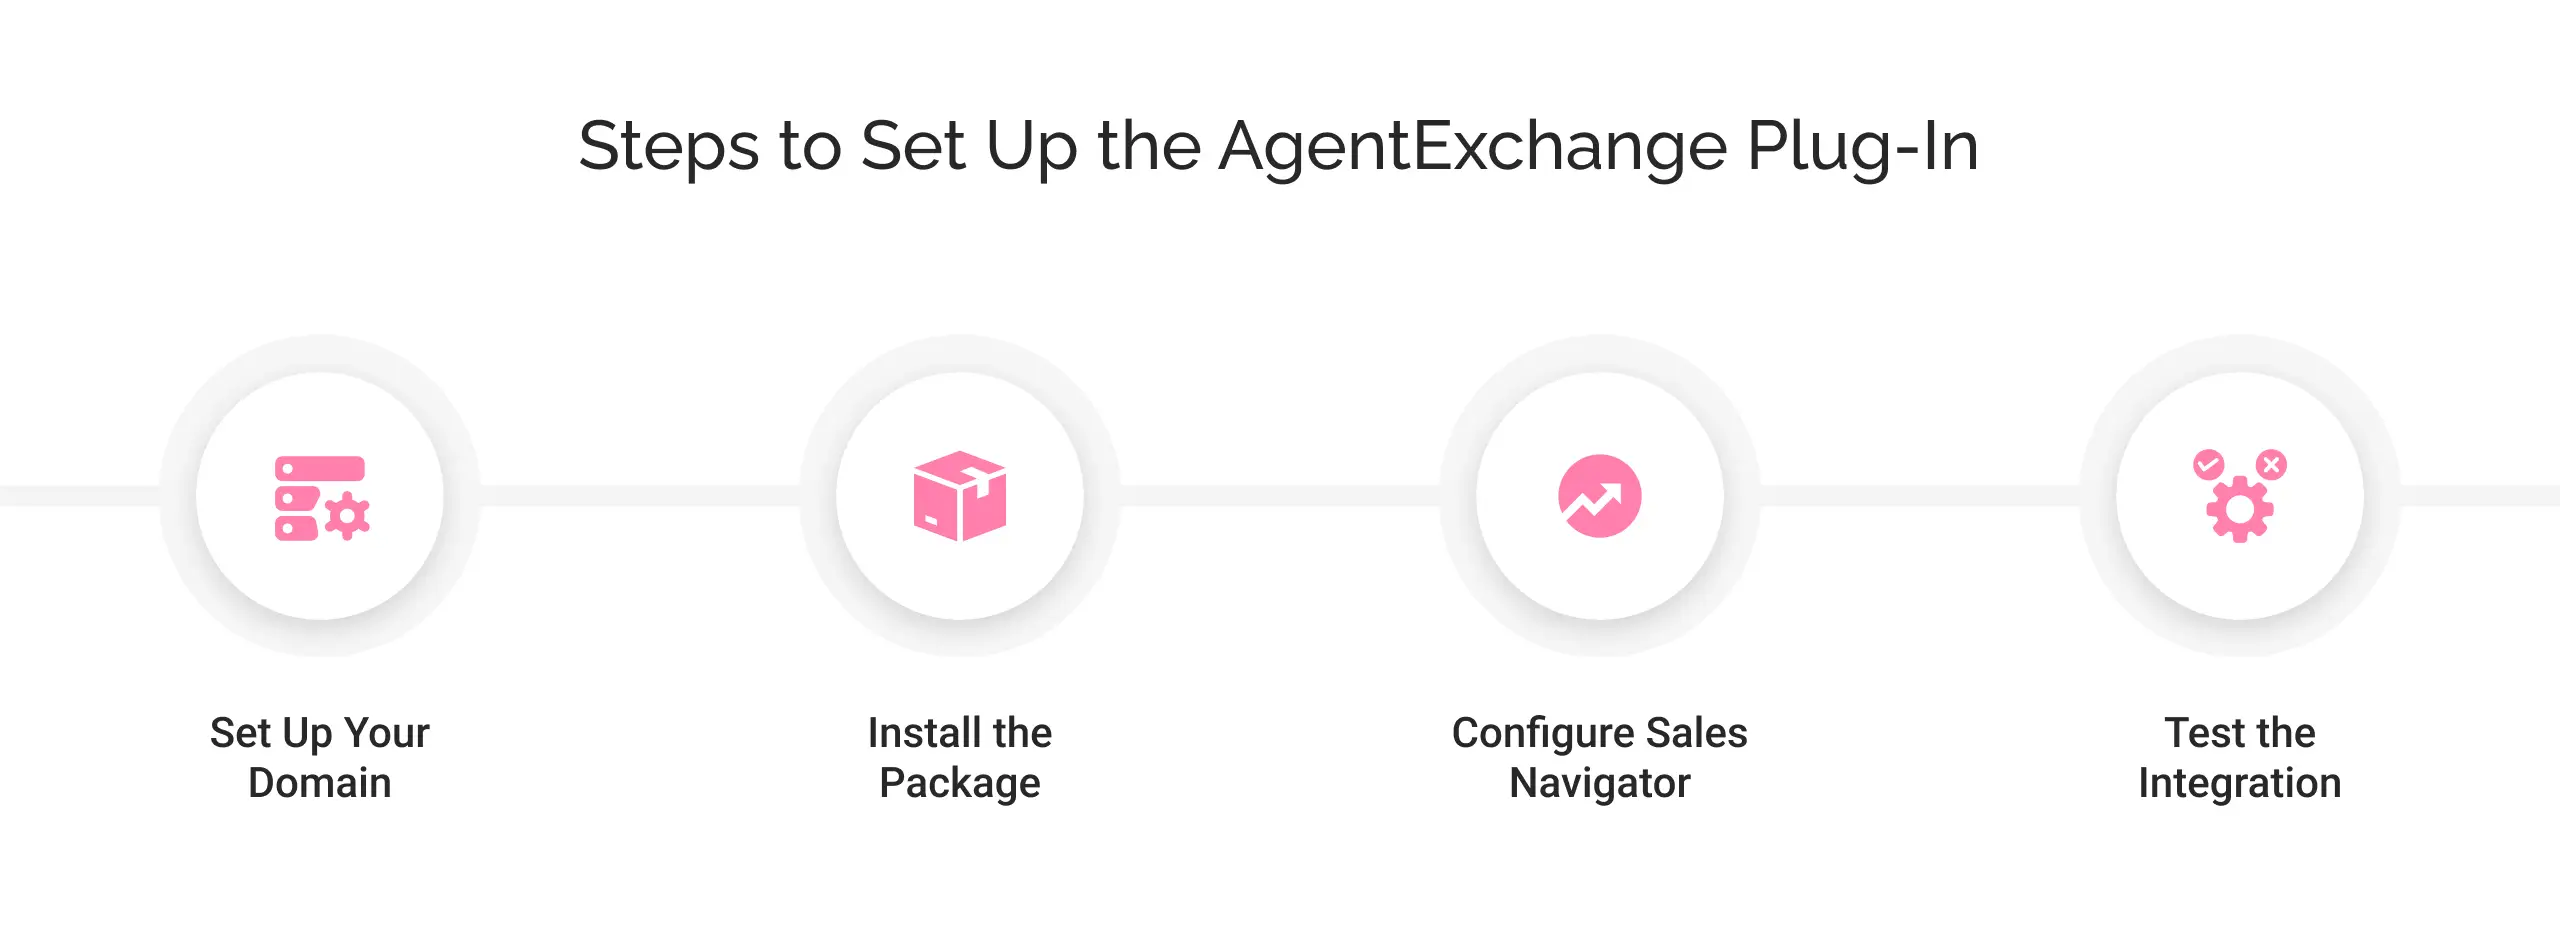
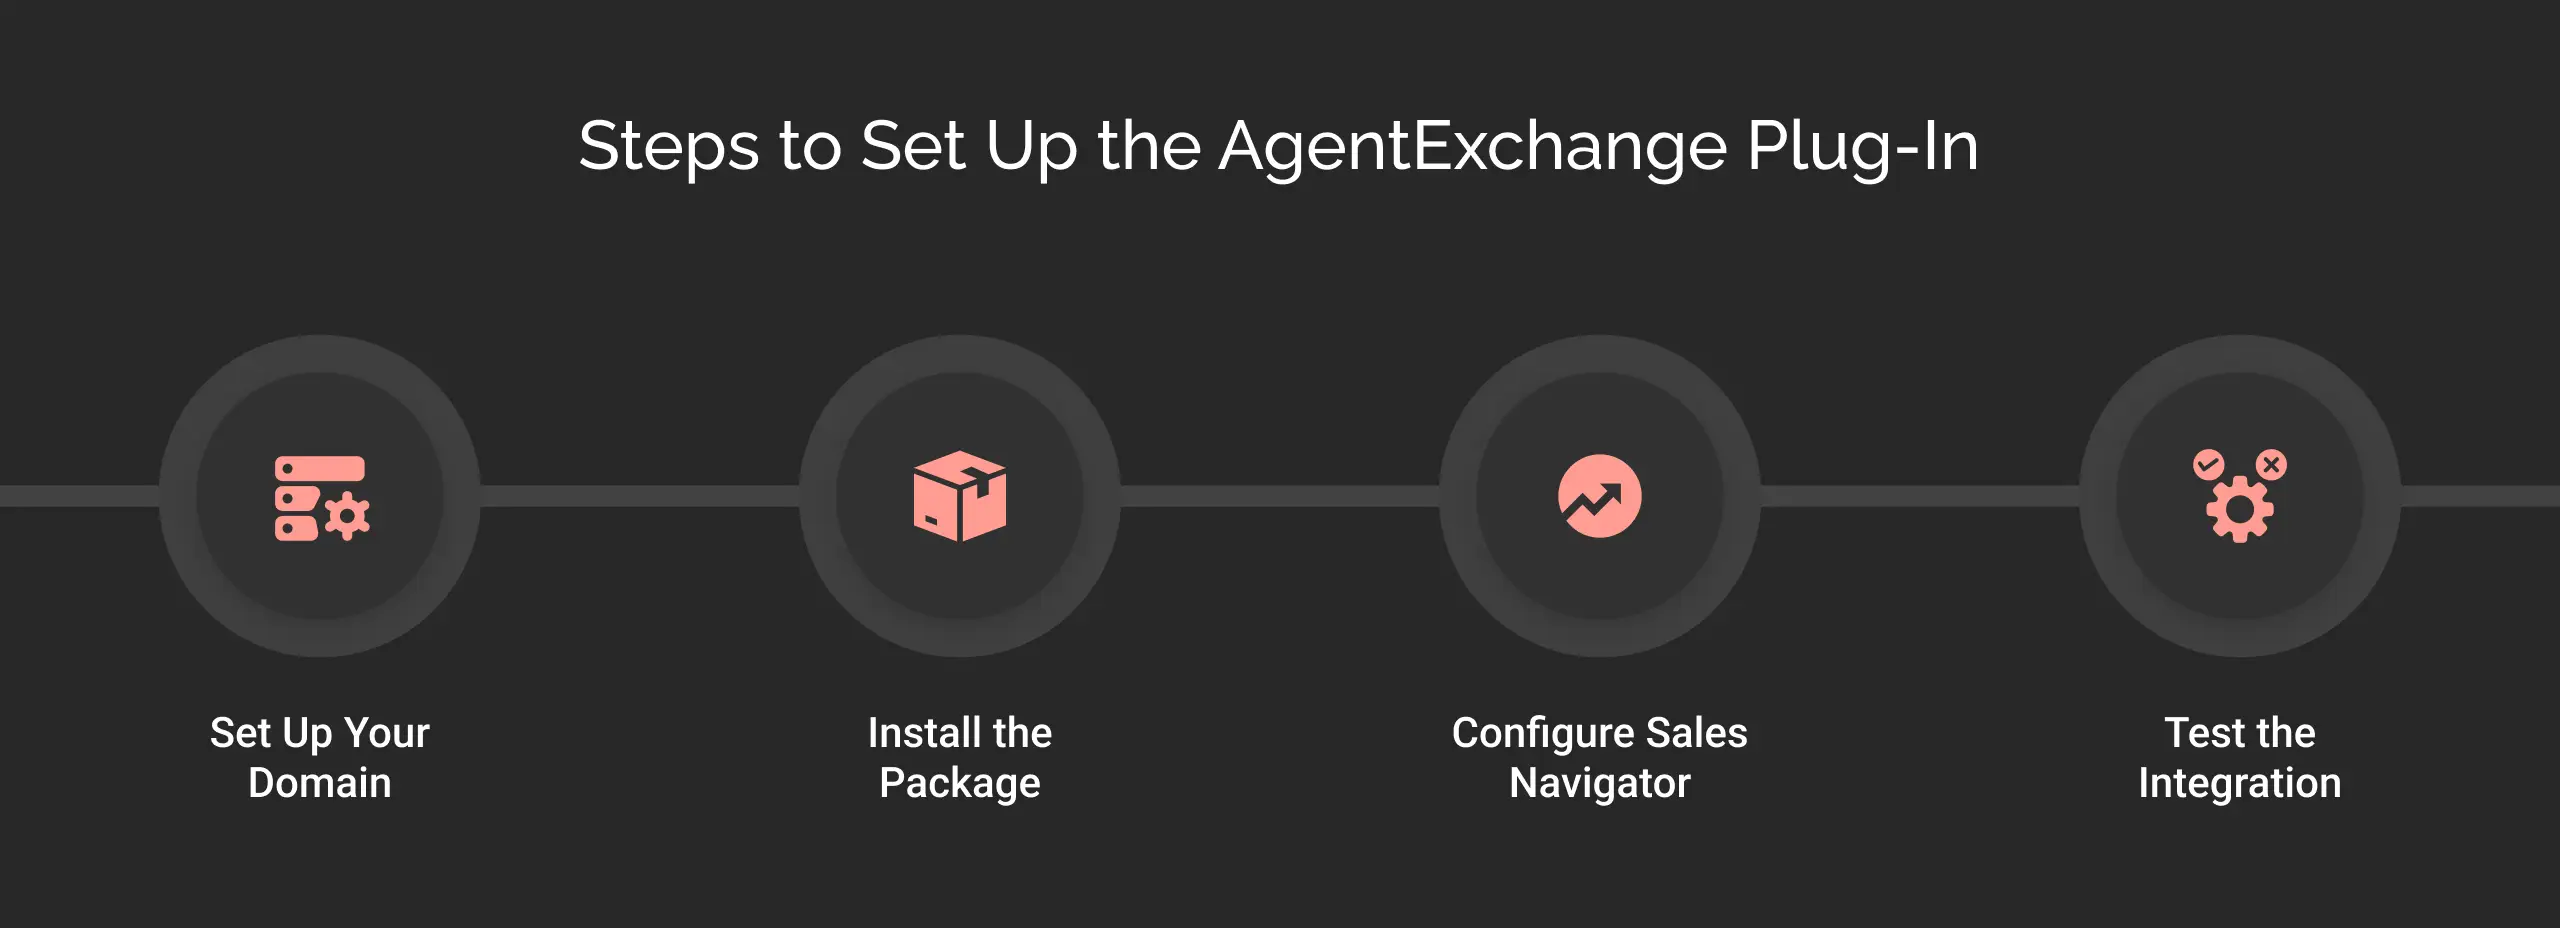
Domain setup
- In Salesforce, go to Setup and search for ‘My Domain’.
- Under ‘Company Settings’, select ‘My Domain’.
- Enter a domain name and click ‘Check Availability’.
- If it is available, click on ‘Register Domain’ and wait for it to publish.
- After getting the confirmation email, click the link to log in and test your domain.
- After testing, return to My Domain settings and click ‘Deploy to Users’.
Installation
- Search ‘LinkedIn Sales Navigator’ in the Quick Find box.
- Choose the ‘LinkedIn Sales Navigator AppExchange Package’ tab and click ‘Install’.
- Click on ‘Get it Now’, then log in to your AppExchange account if not logged in.
- Under ‘Install in This Org’, click ‘Install Here’.
- In the next stage, agree to the terms and click ‘Confirm and Install’.
- Select the access level: select ‘Install for All Users’, or ‘Install for Specific Profiles’, which is meant for profiles that already have Sales Navigator licenses provisioned.
- After this, click ‘Install’. You’ll either see an “Installation Complete” screen immediately, or a “Processing” screen.
Configure Sales Navigator components
- Click the tile icon in the top left corner to see the ‘App Launcher’.
- Then select ‘LinkedIn Sales Navigator Assistant’ and follow the guide to configure Sales Navigator Components.
- Toggle ‘Enterprise Features’ in the top right corner to turn on Data Validation and follow the prompts.
- Go to Setup > Permission Sets to provide user permissions to embedded profiles.
Test the integration
- Open any Contact record where the Sales Navigator embedded profile is added.
- Confirm that the profile loads correctly and repeat this test for Accounts, Leads, and Opportunities.
- Once testing is complete, enable CRM Sync from the Sales Navigator Admin settings.
Best practices for LinkedIn-Salesforce integration
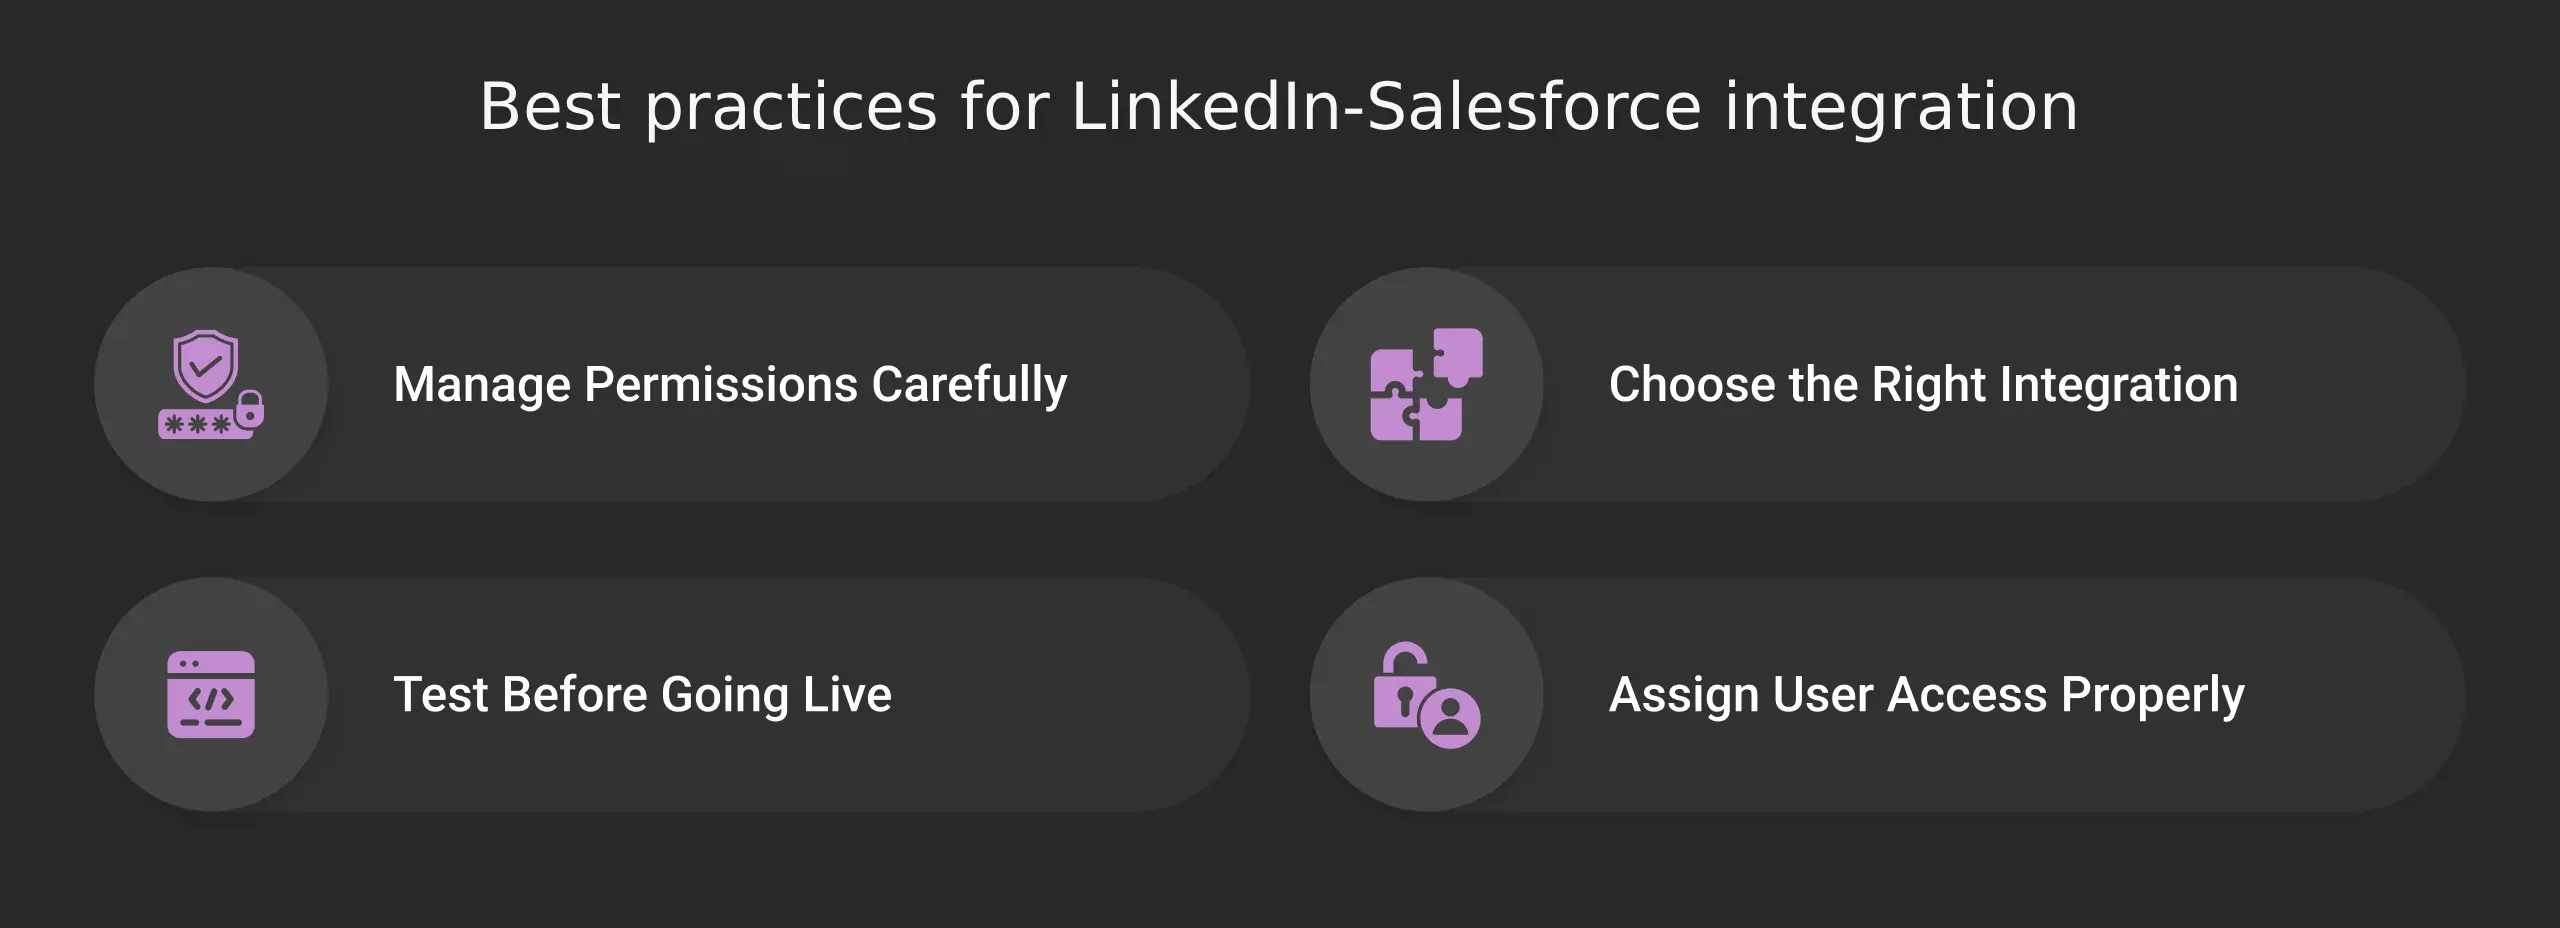
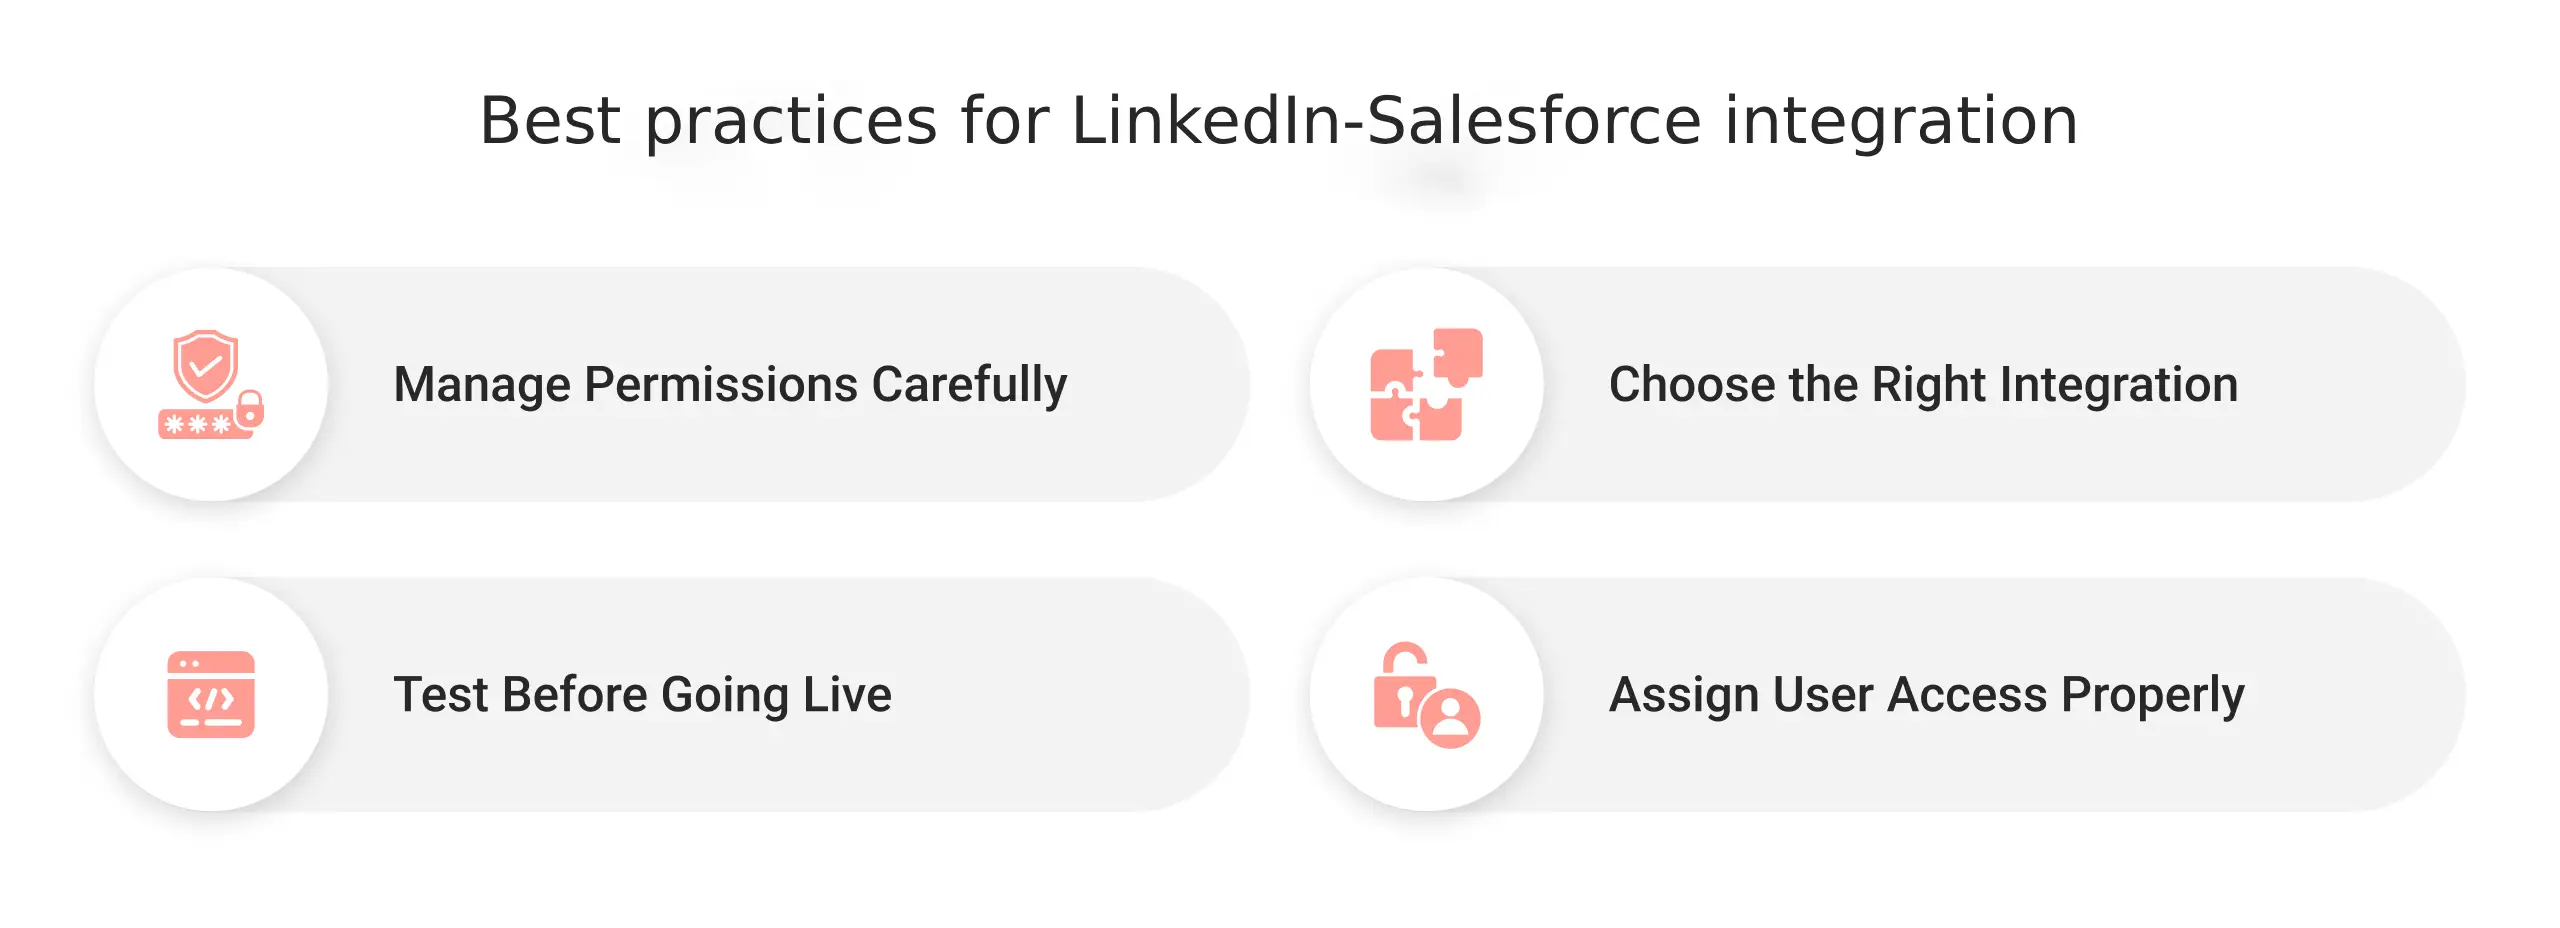
Don’t edit managed permission sets directly
You cannot change the managed permission sets in Salesforce directly. If a user hits an “insufficient access” error, first clone the set and then fix the permissions.
Choose the integration method before rollout
Data Validation and Salesforce Classic support are not present in the native toggle, only in the AppExchange Package. Switching methods after rollout means a fresh install, not an upgrade, since Data Validation and Classic support are only available in the AppExchange Package.
End-to-end testing
After each layout change, test it across every object in Contacts, Accounts, Leads, and Opportunities. If the profile doesn’t render on one, don’t assume the setup failed. The error could be due to browser cache. So try a different browser first, and if that one shows it correctly, clear cookies and cache on the original before troubleshooting the layout itself.
Assign the LinkedIn Sales Navigator Standard User permission set
Users don’t inherit the embedded profile access by just being added to the role or profile. You will need to assign the LinkedIn Sales Navigator Standard User permission set explicitly for each new rep. Without it, sales reps will have full CRM access but with a blank LinkedIn panel and no error message.


Bottom line
Businesses that need LinkedIn context on the records often choose the native Salesforce-LinkedIn integration method. However, if you need InMail and notes logged automatically, you should use the AgentExchange plug-in method of integration.
Many enterprises end up running both methods, as one solves the visibility issue while the other captures real-time activities. Since native integration and the AgentExchange plug-in methods solve different problems, you should pick based on what your reps are missing today, not what looks like the bigger feature set.
In addition to the above steps, setting up the LinkedIn-Salesforce integration across a full sales org requires you to accurately perform permission set cloning and layout testing. This is where Cyntexa’s Salesforce Integration Solutions team can help you handle the setup, testing, and permission configuration.
Book a consultation with our Salesforce team today!
Don’t Worry, We Got You Covered!
Get The Expert curated eGuide straight to your inbox and get going with the Salesforce Excellence.
AUTHOR
Jagrat
AppExchange, Salesforce Community Cloud, Loyalty Cloud
Jargrat, Delivery Manager at Cyntexa, has 7+ years of experience in the Salesforce ecosystem. He specializes in Salesforce AppExchange, Community (Experience) Cloud, and Loyalty Management, Jagrat excels in building scalable, customer-centric platforms that foster engagement, loyalty, and seamless digital experiences for businesses.


Cyntexa.
Join Our Newsletter. Get Your Daily Dose Of Search Know-How
Frequently Asked Questions
Multiple other CRM platforms, such as Zoho CRM, Hubspot CRM, and Microsoft Dynamics 365, are available for integrating LinkedIn Sales Navigator.
Two basic methods are followed to generate leads successfully. The first method involves leveraging LinkedIn Lead Gen Forms. The second method involves manually entering data with relevant information. Depending on requirements and budget, you can consider any of the approaches.
The LinkedIn Sales Navigator offers its users tiered-level pricing. There are three tiers available for opting in: the professional level starts at $79.99 per month, the advanced level is $149 per month, and lastly, the enterprise level starts at $1600 annually.